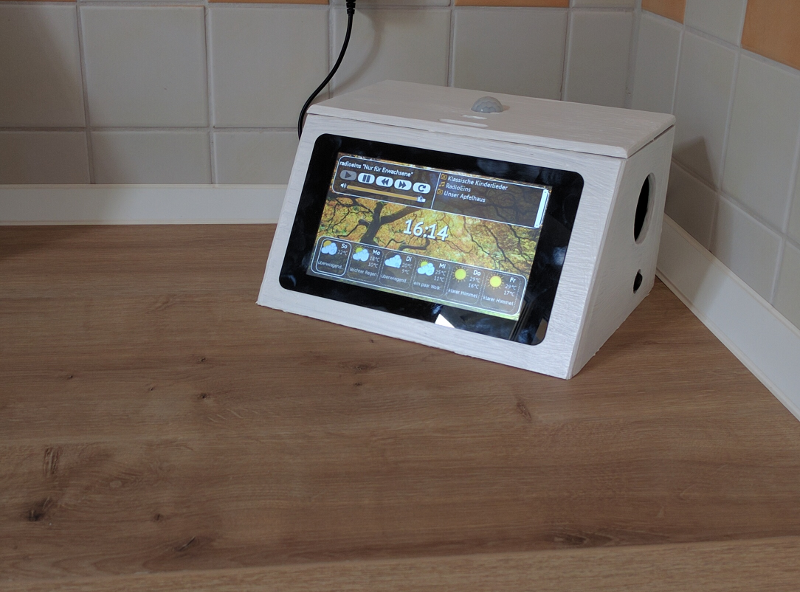
Fast and responsive interface built on ReactJS. Everything's one touch away.
Voice-Output
Says whatever text in whatever language. Reads your news or tasks.
Motion-Detection
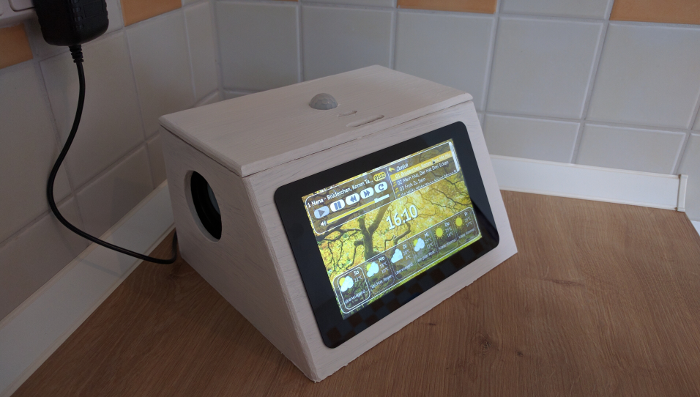
Goes to standby when nobody's around. Resumes your music when you're back.
Build your own.
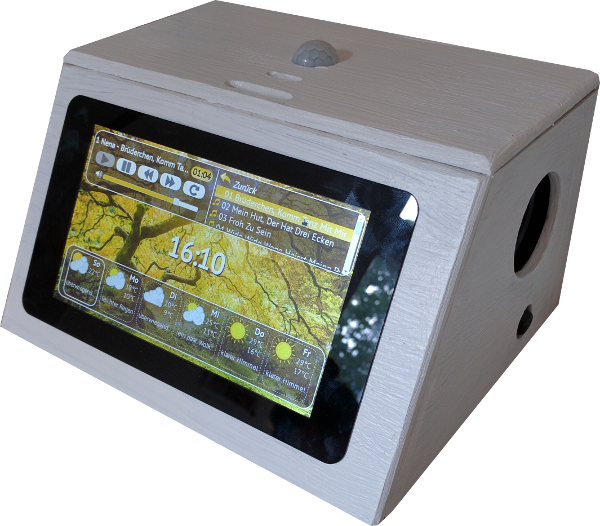
Yeah, sorry. You have to build it first. This is just the documentation of how I glued together a touchscreen-box to play streams and mp3 in our kitchen. Afterwards I thought it'd be nice to show us the weather in the morning and liked the idea of letting it read the news, react to our presence, slide photos and so on. Things escalated.
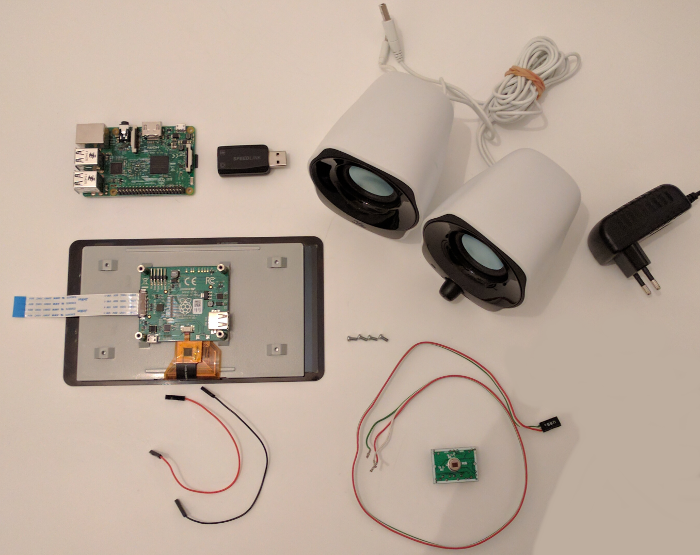
Ingredients:
Raspberry Pi 3
7" Touchscreen
Micro-SD with Raspbian
USB-powered Speakers
USB-soundcard
Motion-sensor (PIR)
2A power supply
Screws and jumper-wires
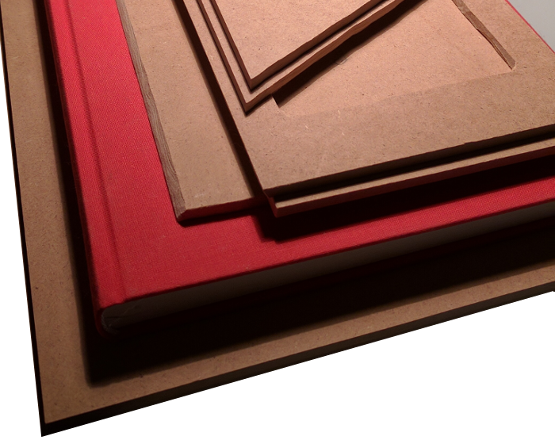
And...
...some wood:
5 mm medium density fibreboard (MDF)
A handy saw (I used a Dremel)
Abrasive paper (or Dremel sanding bands)
Scratchbook
Pencil 'n' ruler
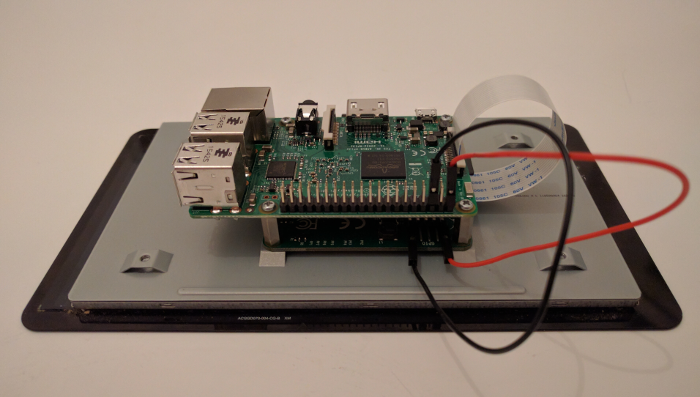
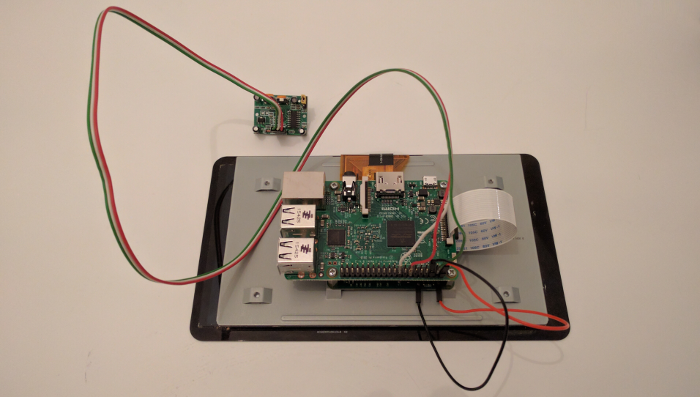
1
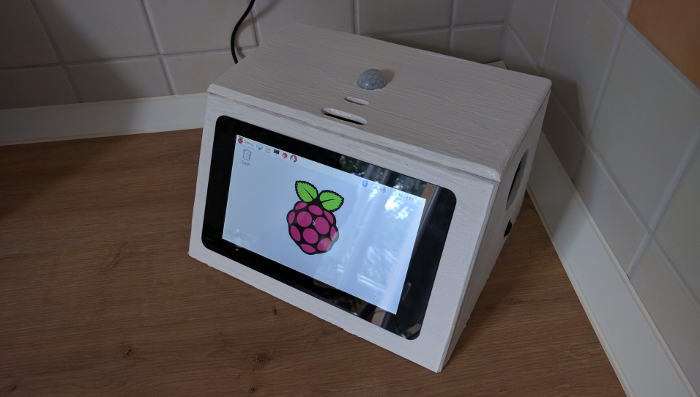
Attach the Raspberry Pi to touchscreen's controller board. Connect ribbon cable, power (pin 2) and ground (pin 6).
2
The PIR-sensor also wants power (pin 4) and ground (pin 14). We read data from GPIO_18 (pin 12) in return.
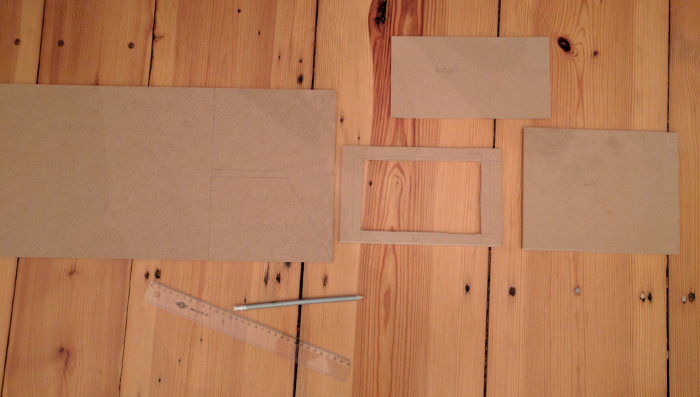
3
Get creative. Plan a casing and draw it on the boards. Cut and sand until you like it.
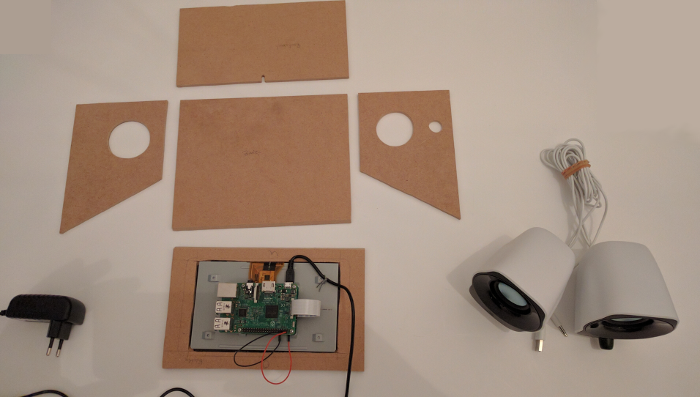
4
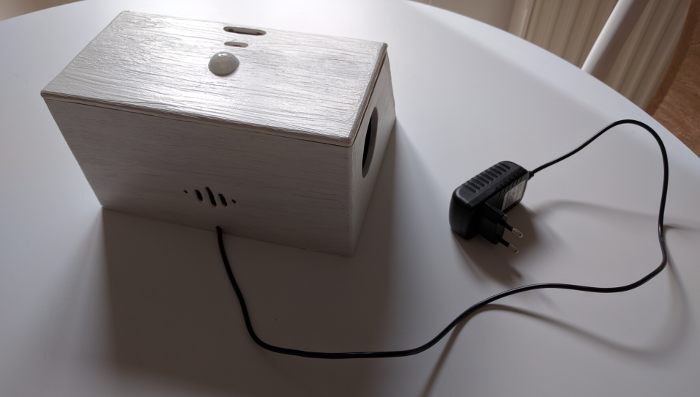
That's better. Don't forget a hole for your powercable and some chilly slots for fresh air before fixed assembly.
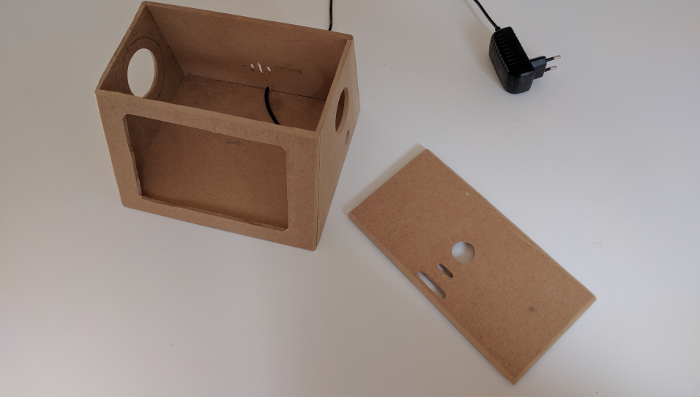
5
Supergluing everything works pretty good. This won't ever fall apart. Let's grind some round edges and paint it.
6
Nice. Stuff everything into the box, attach some rails on the inside of the cover to keep it in place. PIR got a sunroof.
7
Some brain, finally! You didn't forget the SD-card, right? Configure WiFi and get roomyBox from GitHub.
8
Time for soundcheck. A USB-card produces way better sound and less noise than the built-in AUX by the way.
kthxbye
Drop me a line at
Markus Wolf () | Background-image from unsplash.com